Servicing Greater Knoxville Tennessee Area, including Knox, Blount, Sevier, and Loudon Counties.

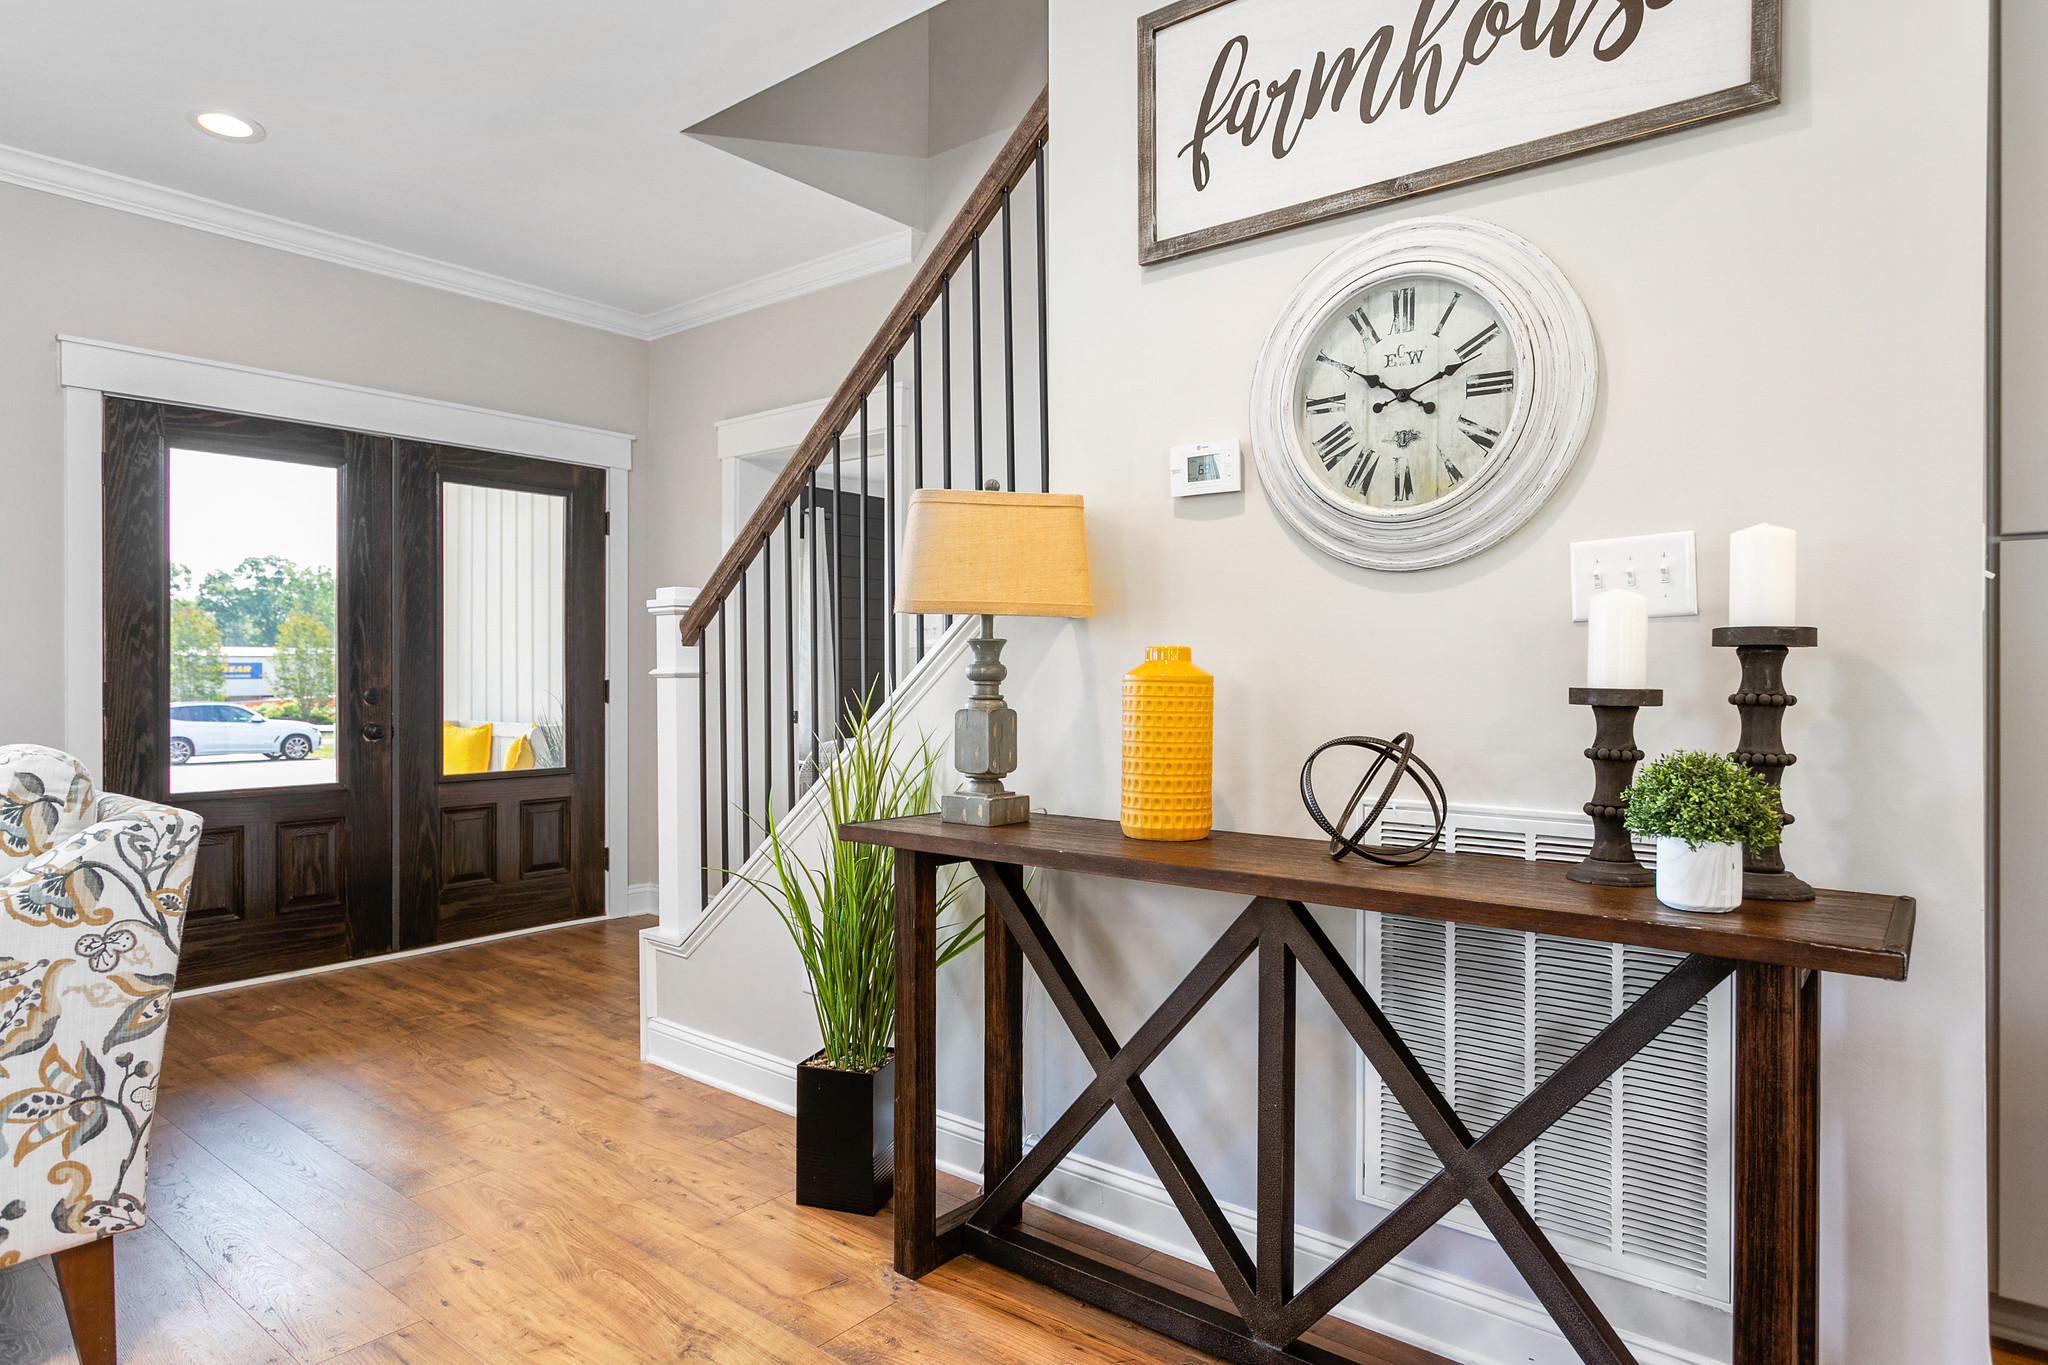
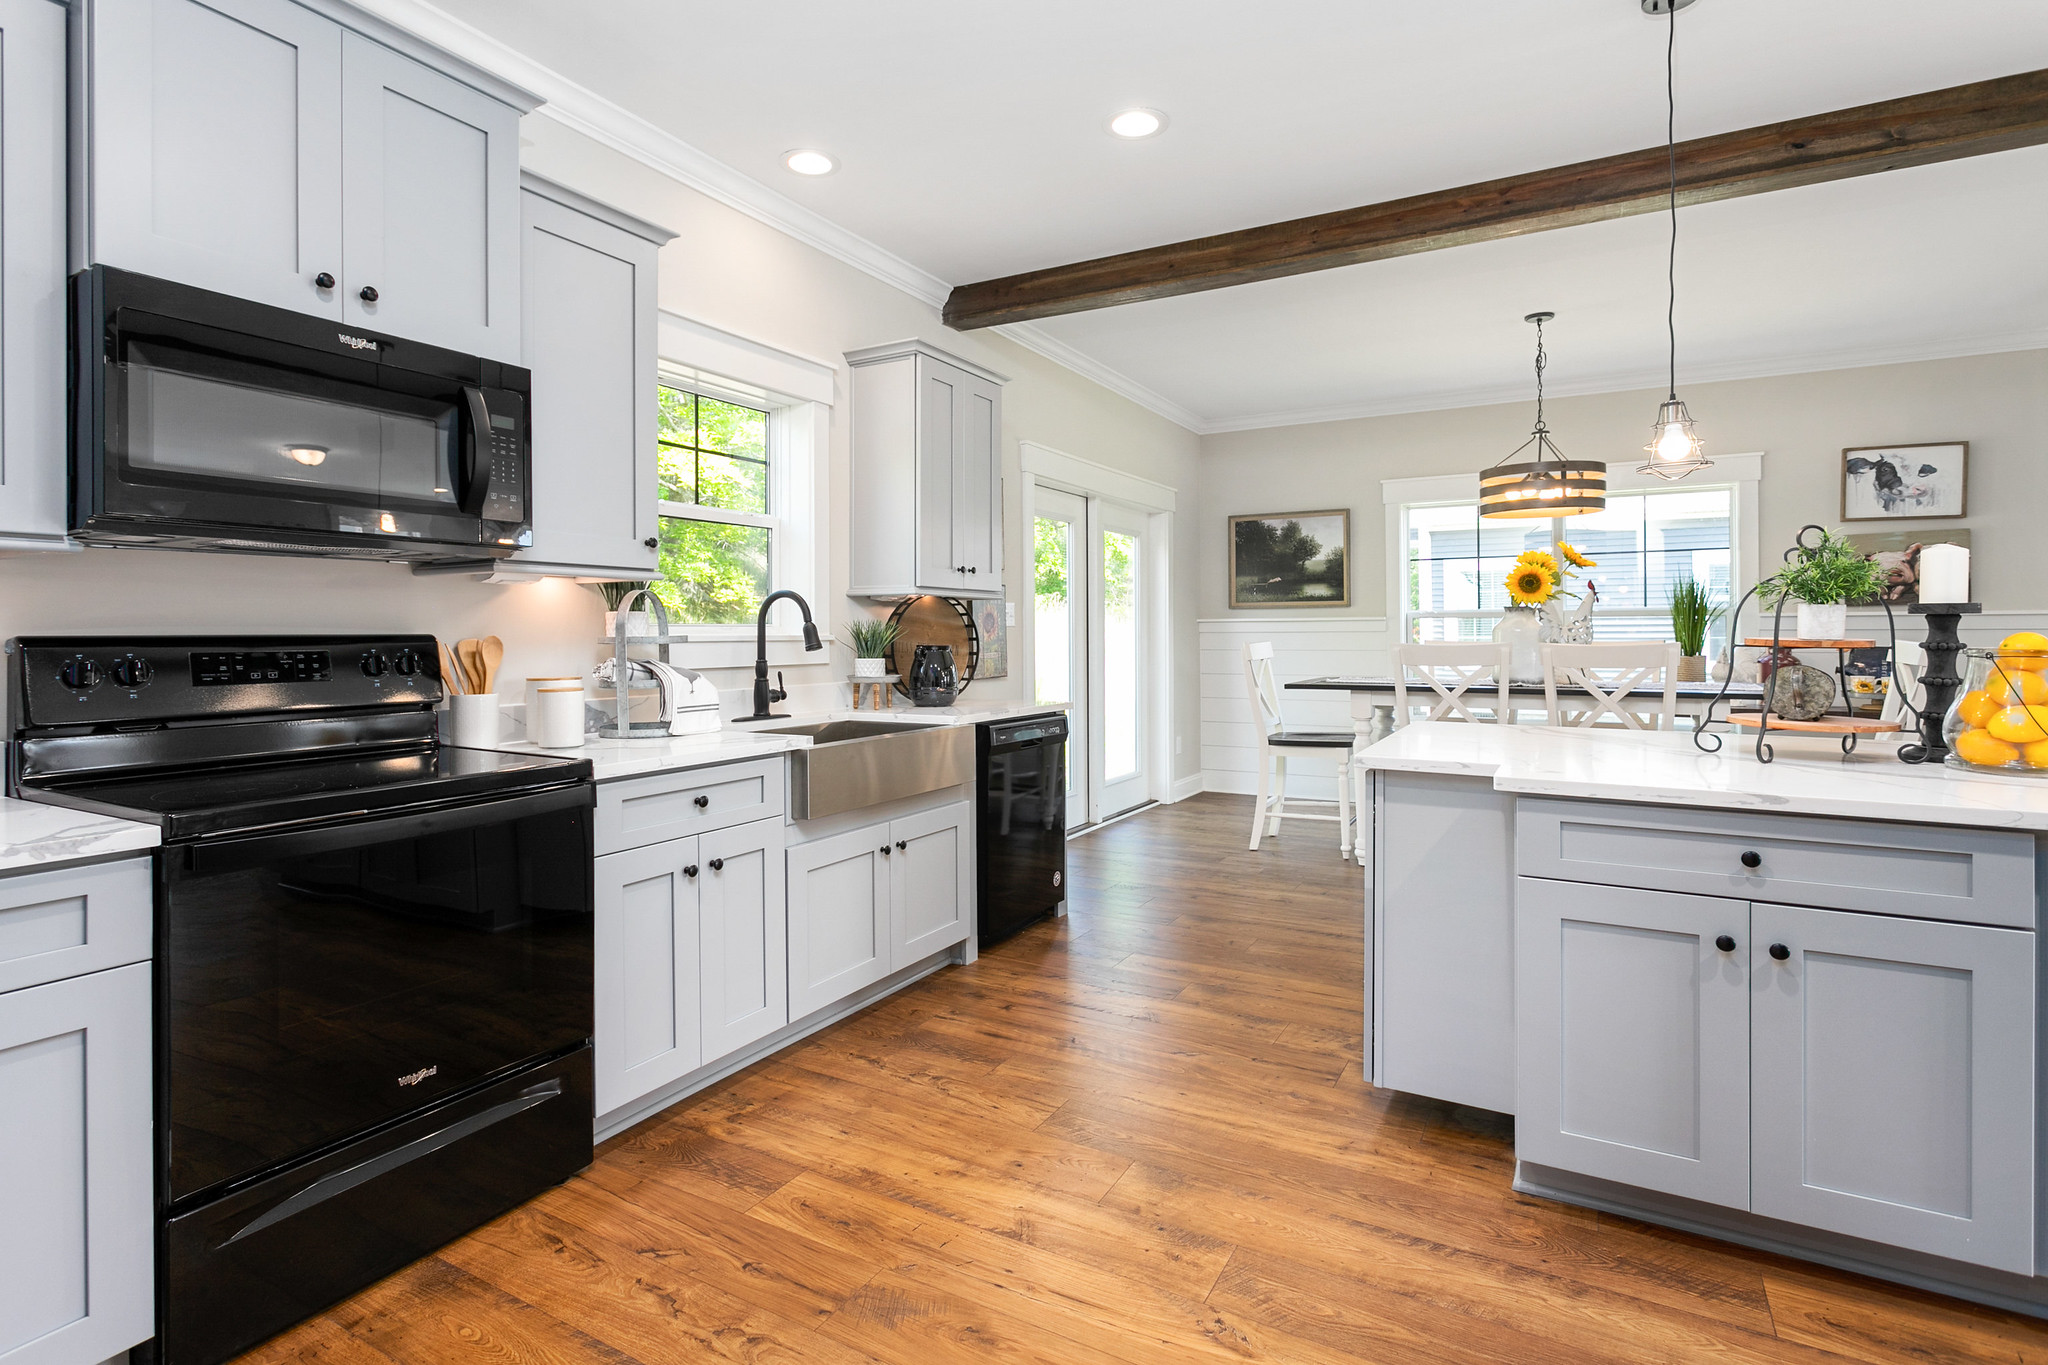
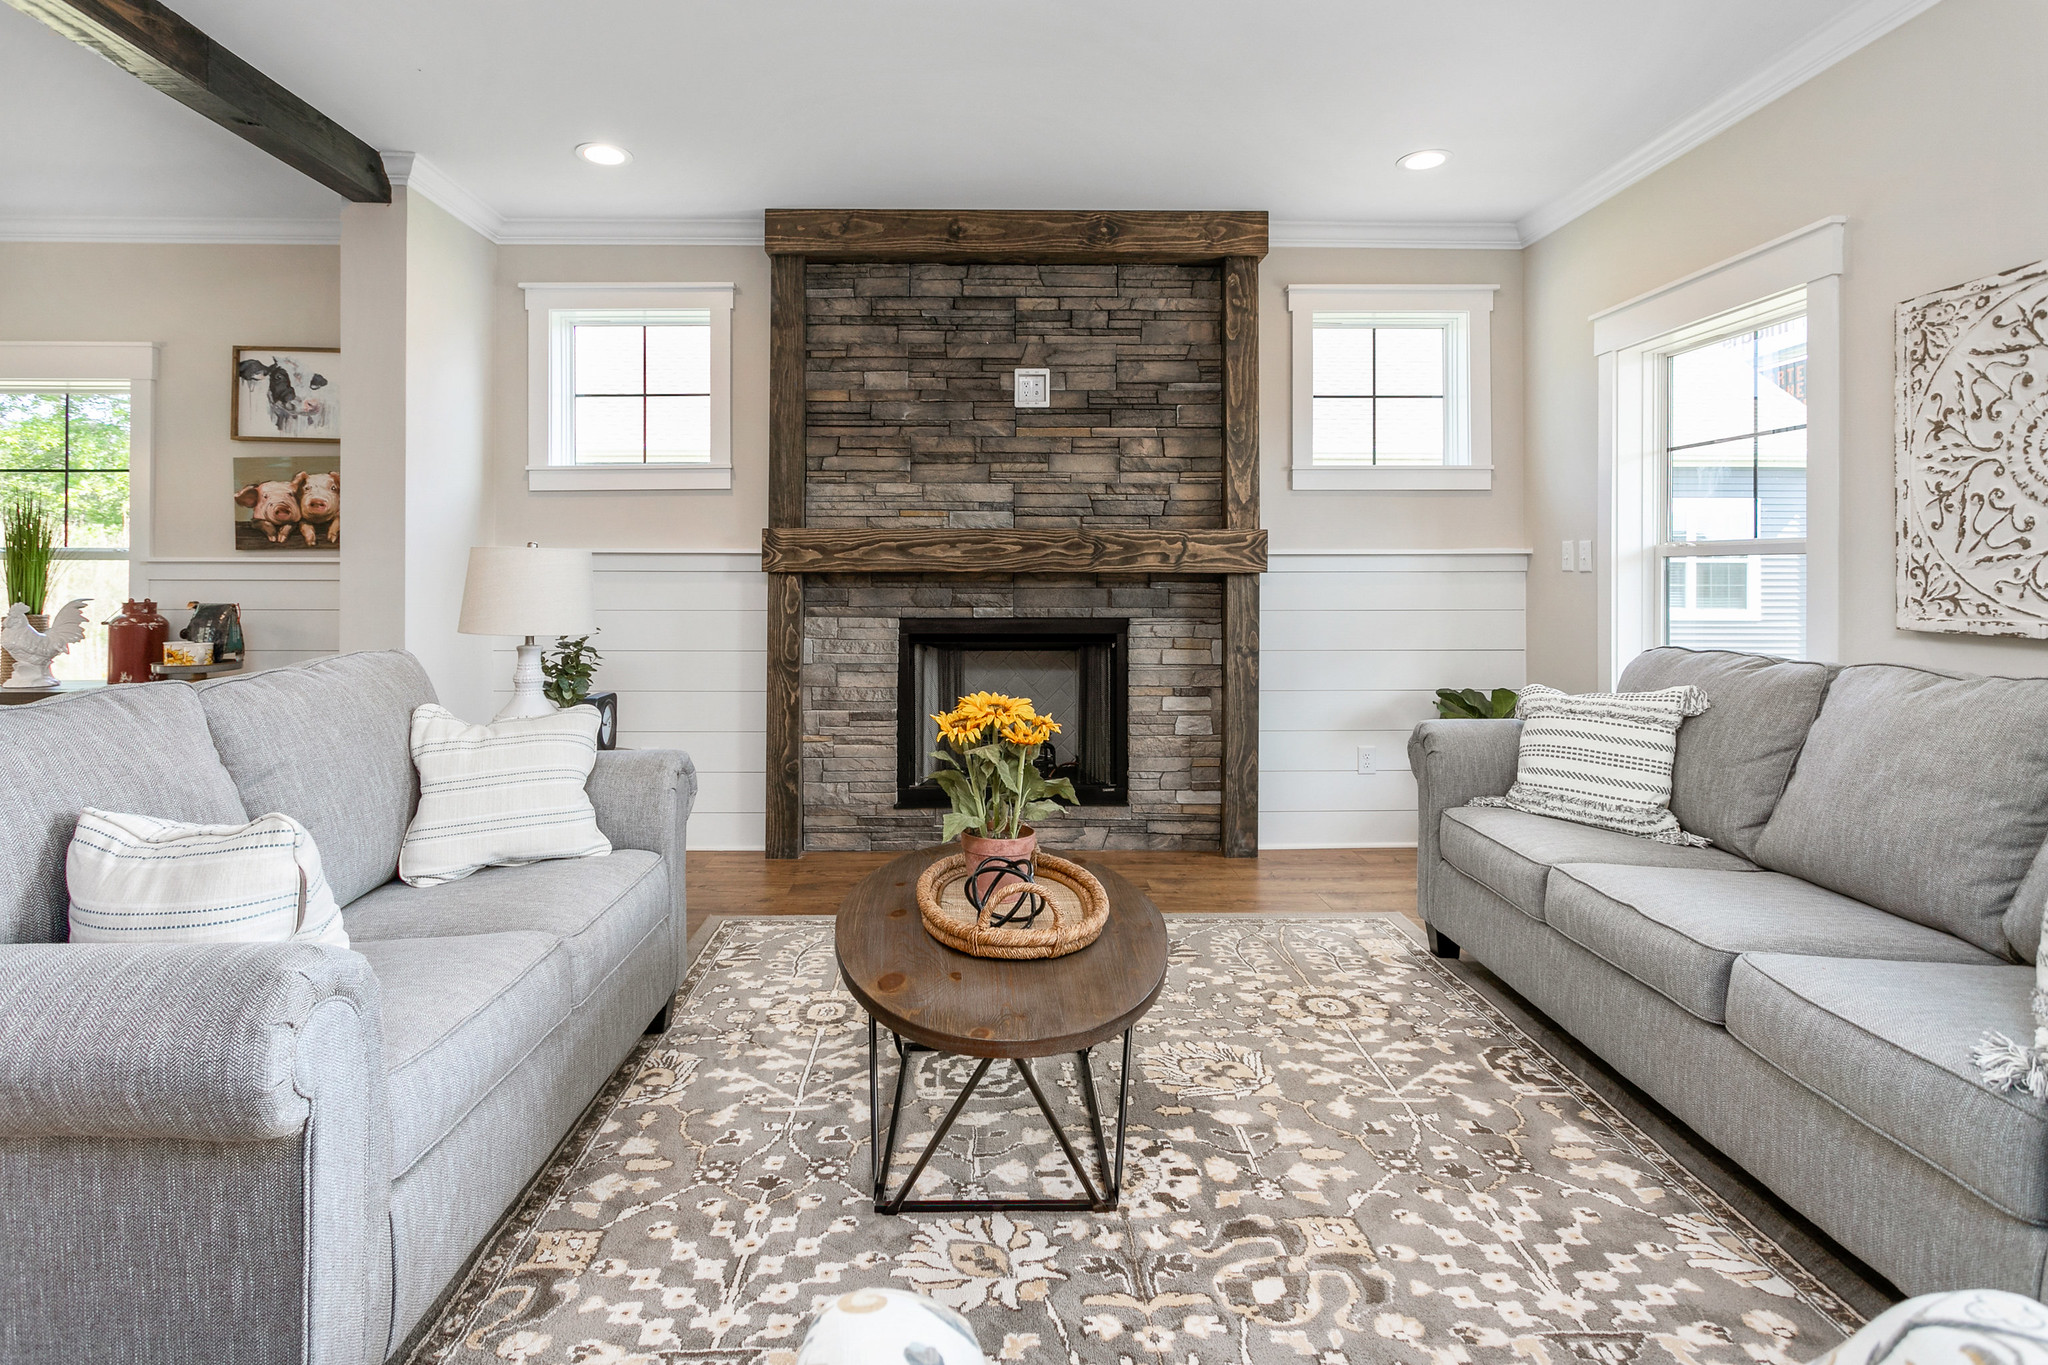
Custom Modular Home Building with Falcon Development
WHY BUILD MODULAR?
Falcon Development has partnered with Nationwide Homes in the greater Knoxville area to sell, install, and complete modular homes. Click Here to view Nationwide Homes YouTube channel.
Click Here to view available floor plans from Nationwide Homes.
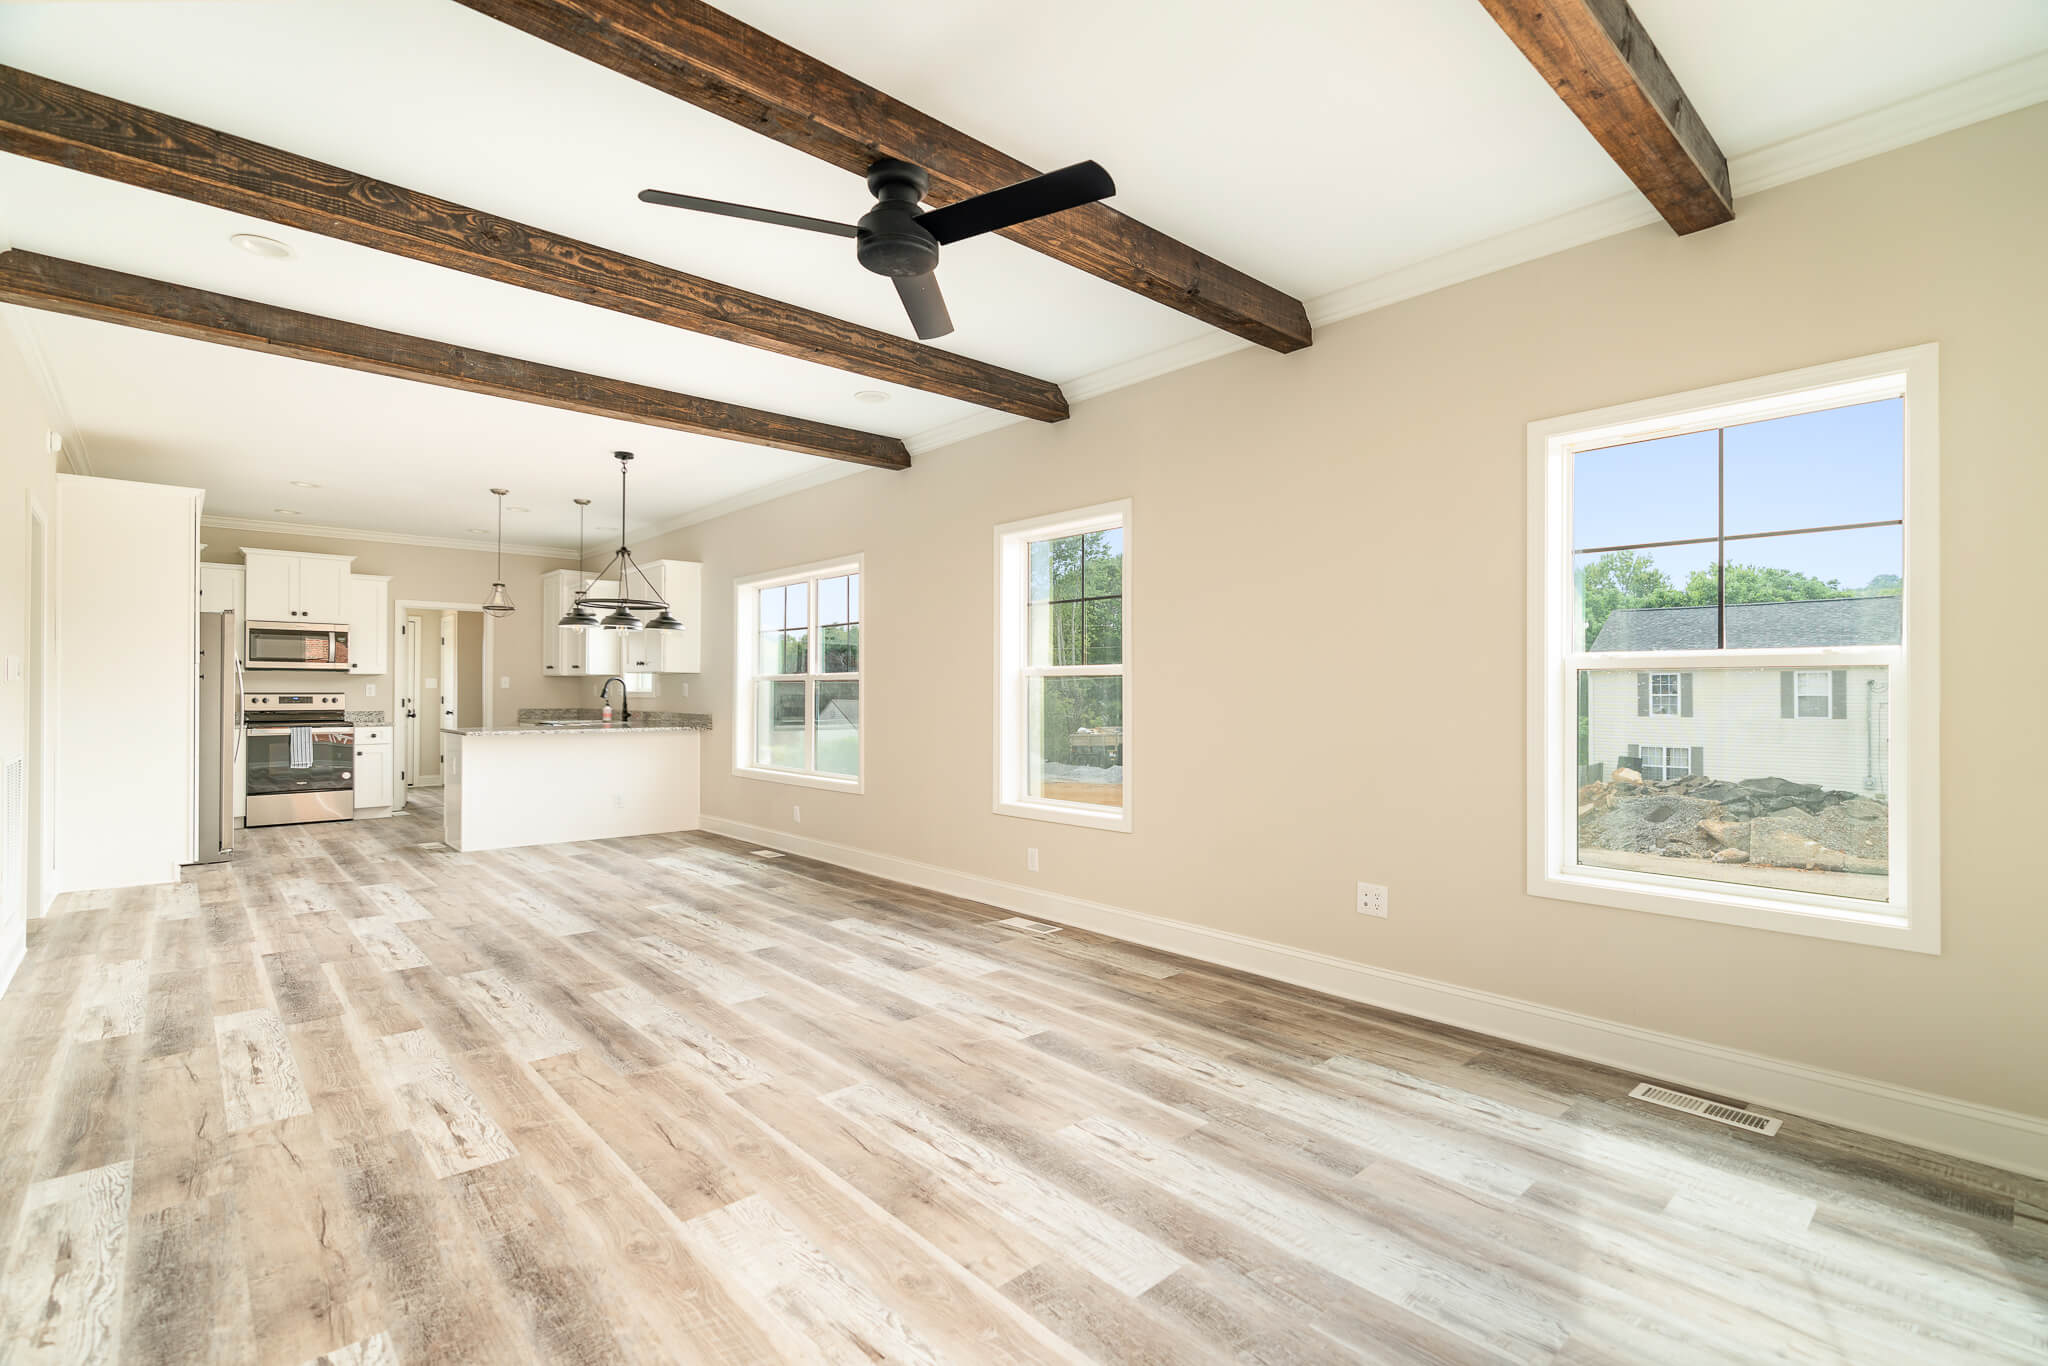
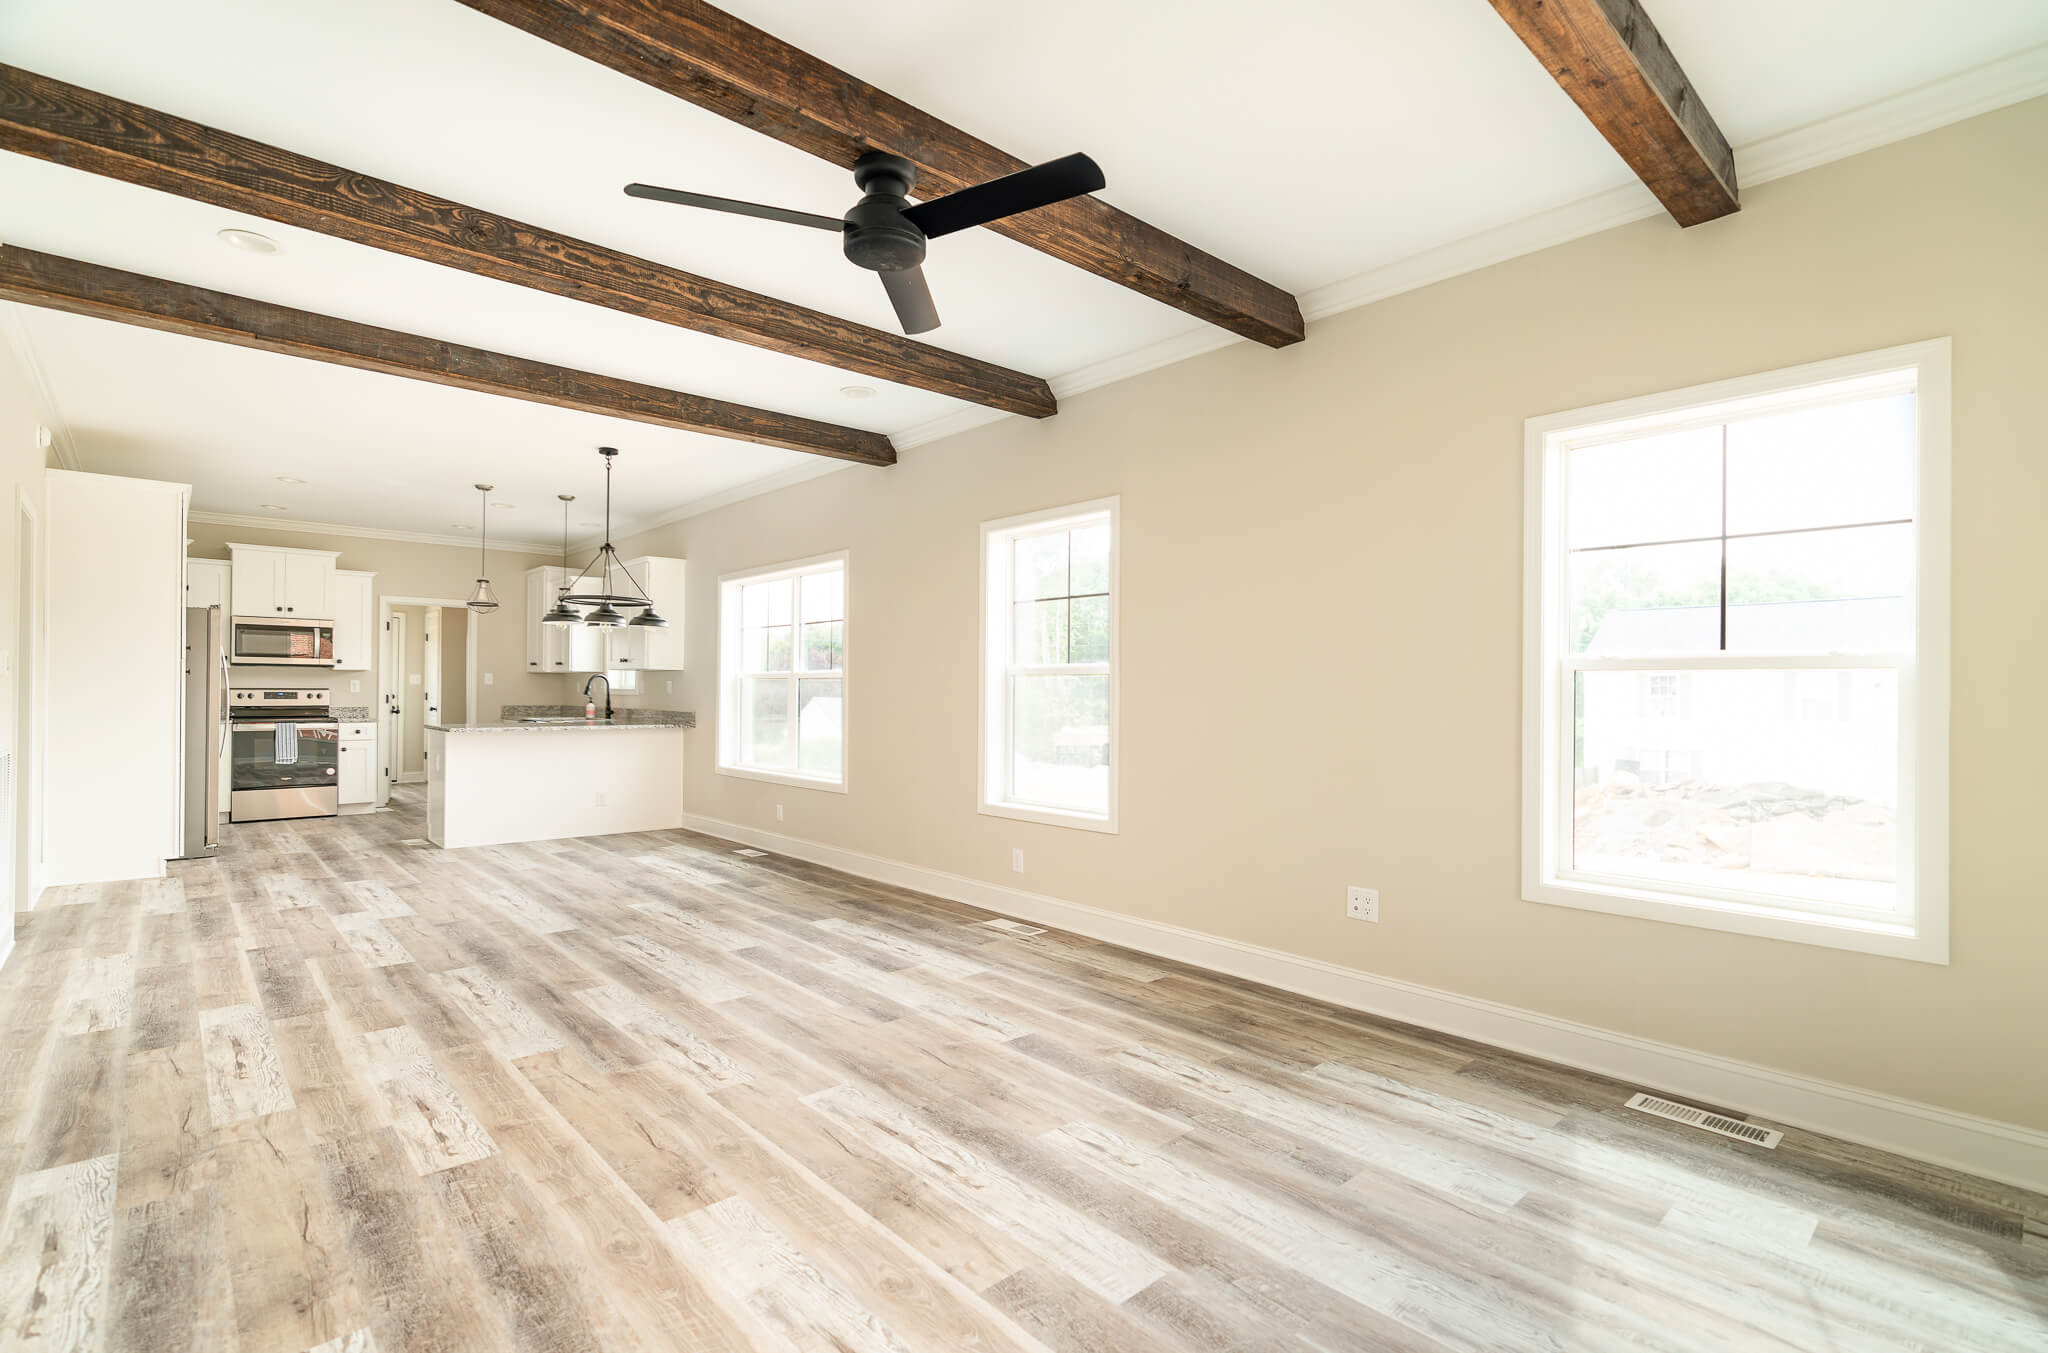
Modular building is not a new concept, but many people think of modular homes as equivlent to mobile or manufactured homes. In fact, modular homes share almost nothing in common with a manufactured home. Modular homes are built with the same materials, if not better materials, than a site built home. Modular homes are not built on a steel frame and are not registered motor vehicles. Modular homes sit on a permanant foundation and are constructed in a manner that allows them to be transported, thus creating an extremely strong building unit.
-CONSISTENT QUALITY of Modular Homes
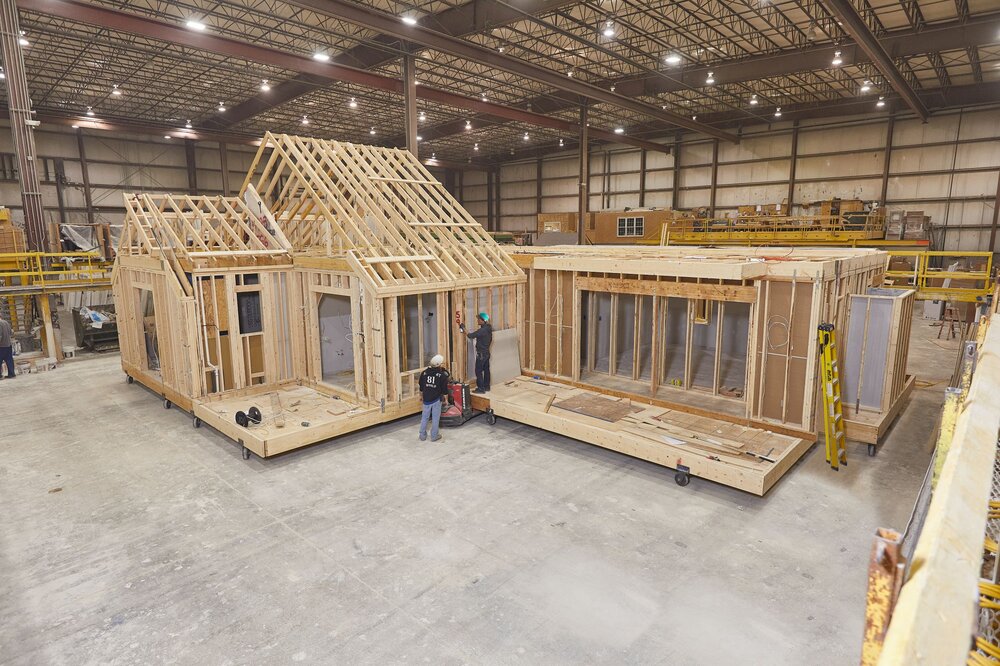
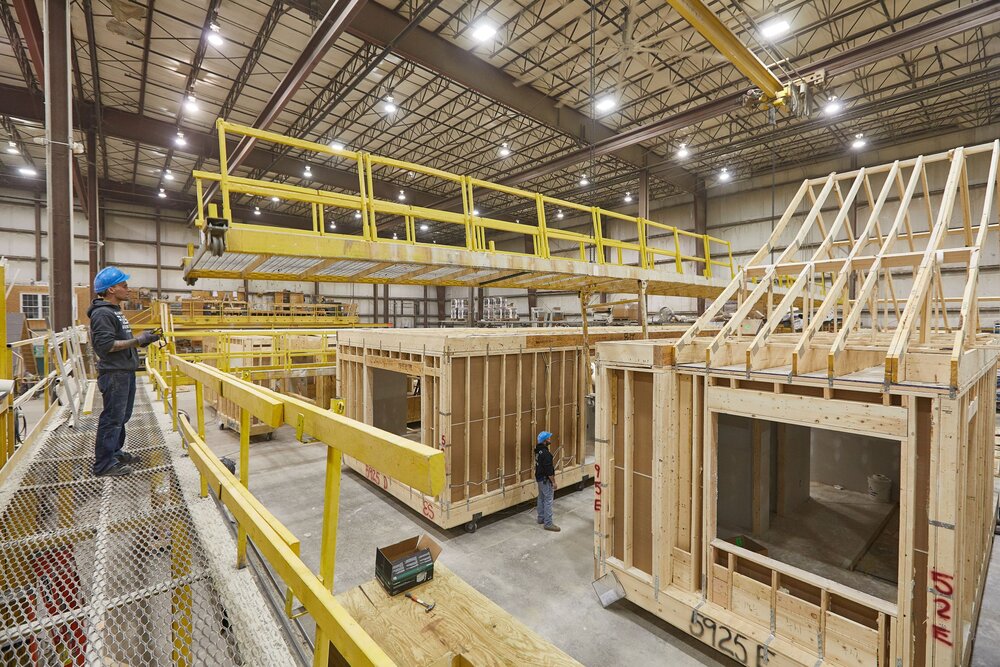
Modular building systems are used to construct your high performance home. The home is designed and built in a climate controlled environment. This means harmful weather never touches the inside of your home. Your modular home will go through 300 quality inspections and third party inspections to ensure the highest level of quality.
-SPEED OF CONSTRUCTION of Modular Homes
Modular homes are delivered up to 90% complete and built in one-third the time of site built homes. Construction is seldom delayed due to weather, subcontractor no-shows or missing material. With careful planning you can be living in your new custom modular home in a matter of weeks. And although your house is completed quickly, quality materials and careful attention to detail are built into every home.
-ENERGY EFFICIENT Modular Homes
Our modular homes are highly engineered using the latest construction technology. All homes are designed to be energy efficient, which will save you money on bills every month. Energy efficient appliances are also available.
-DESIGN FLEXIBILITY of Modular Homes
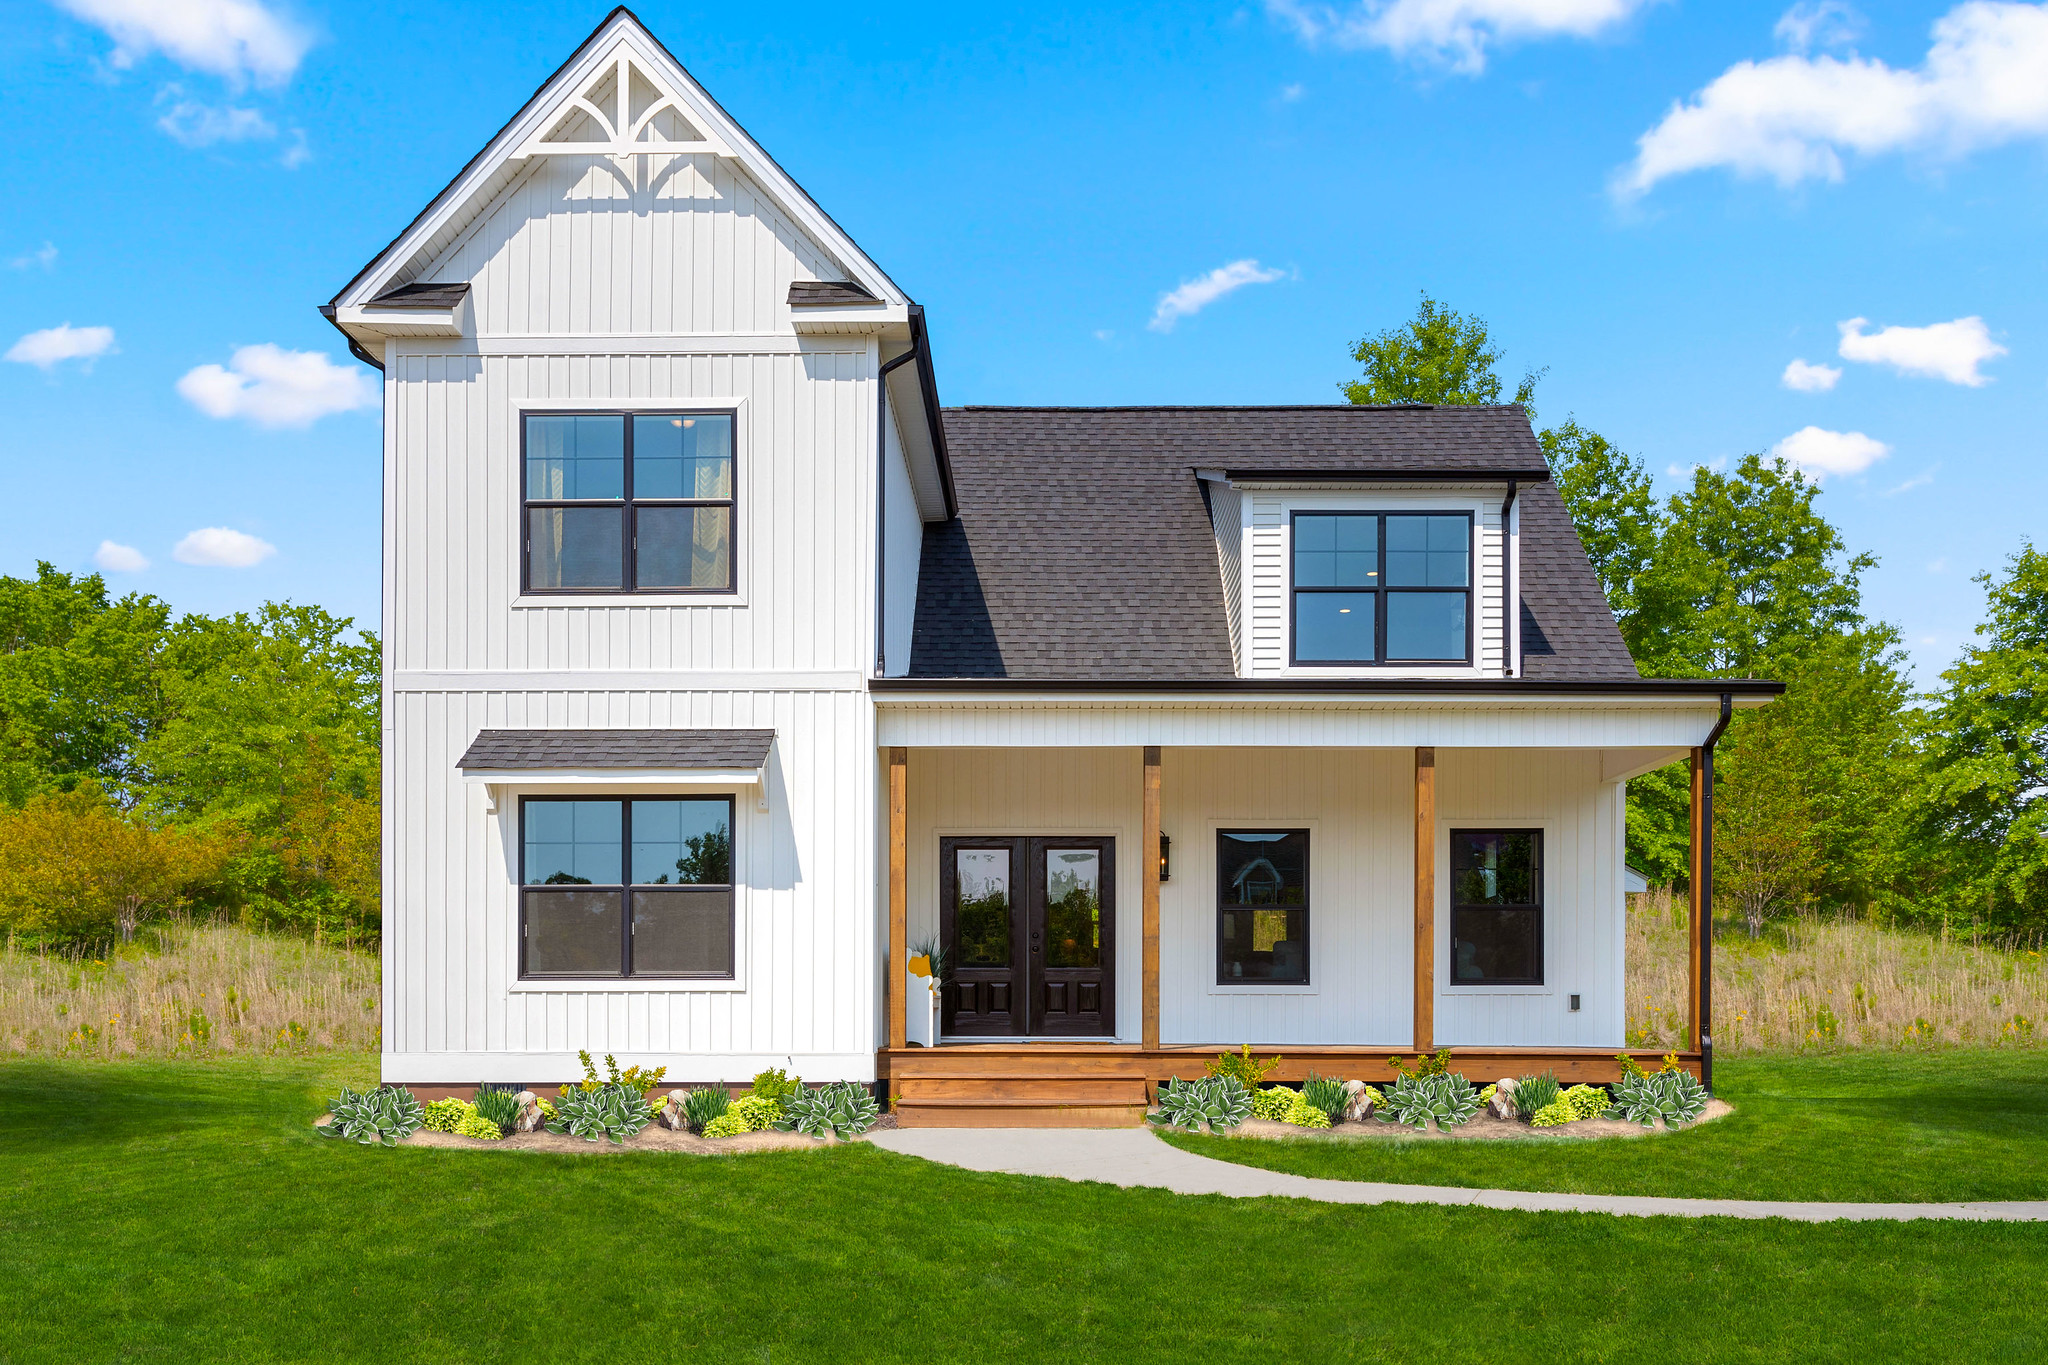
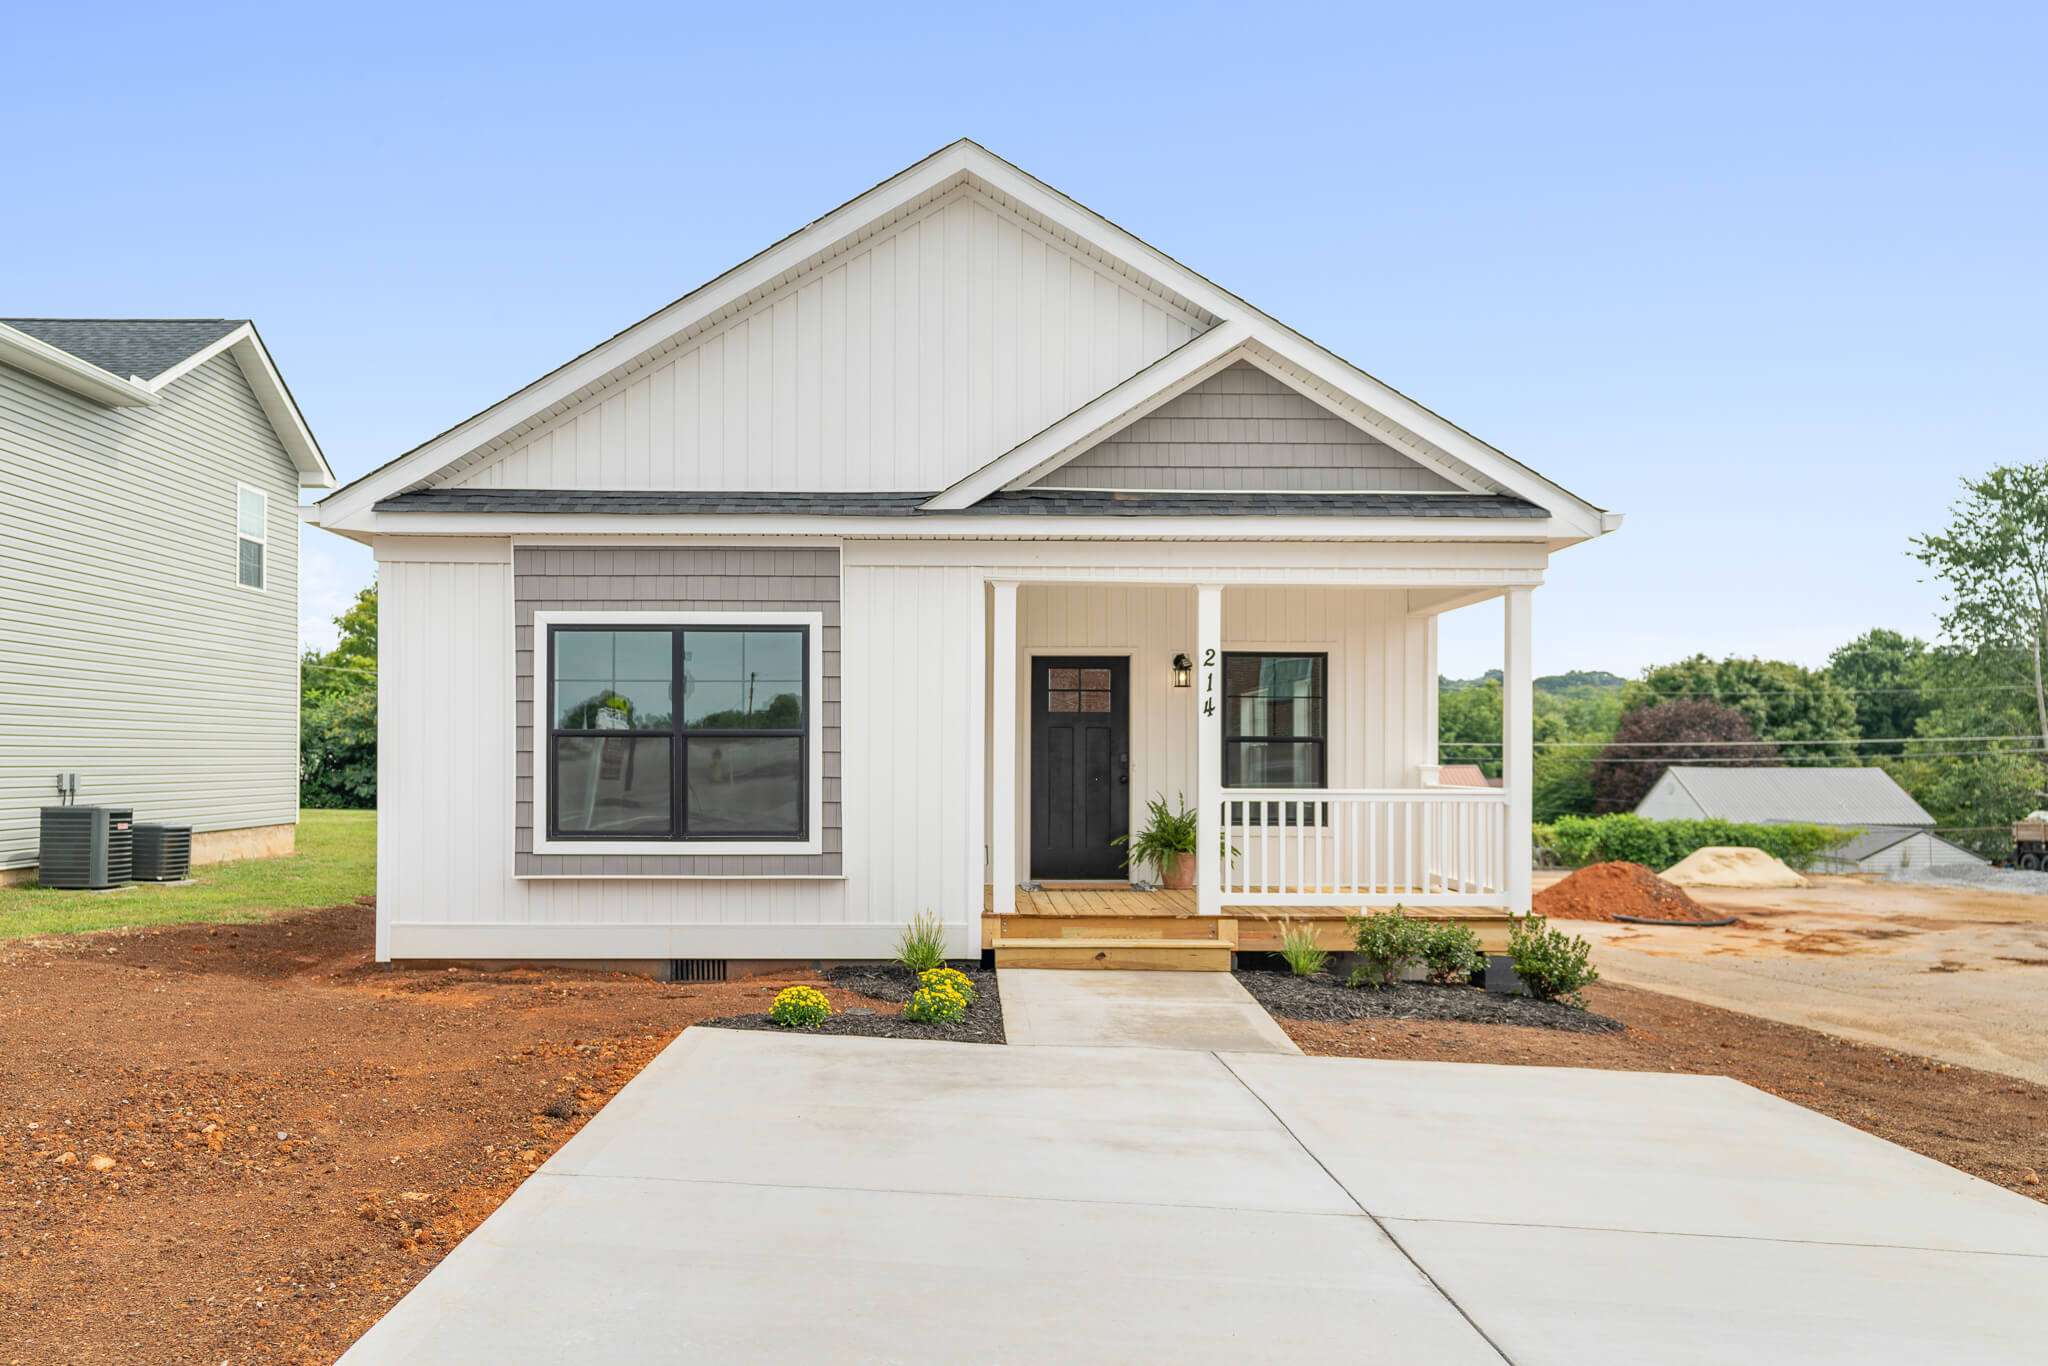
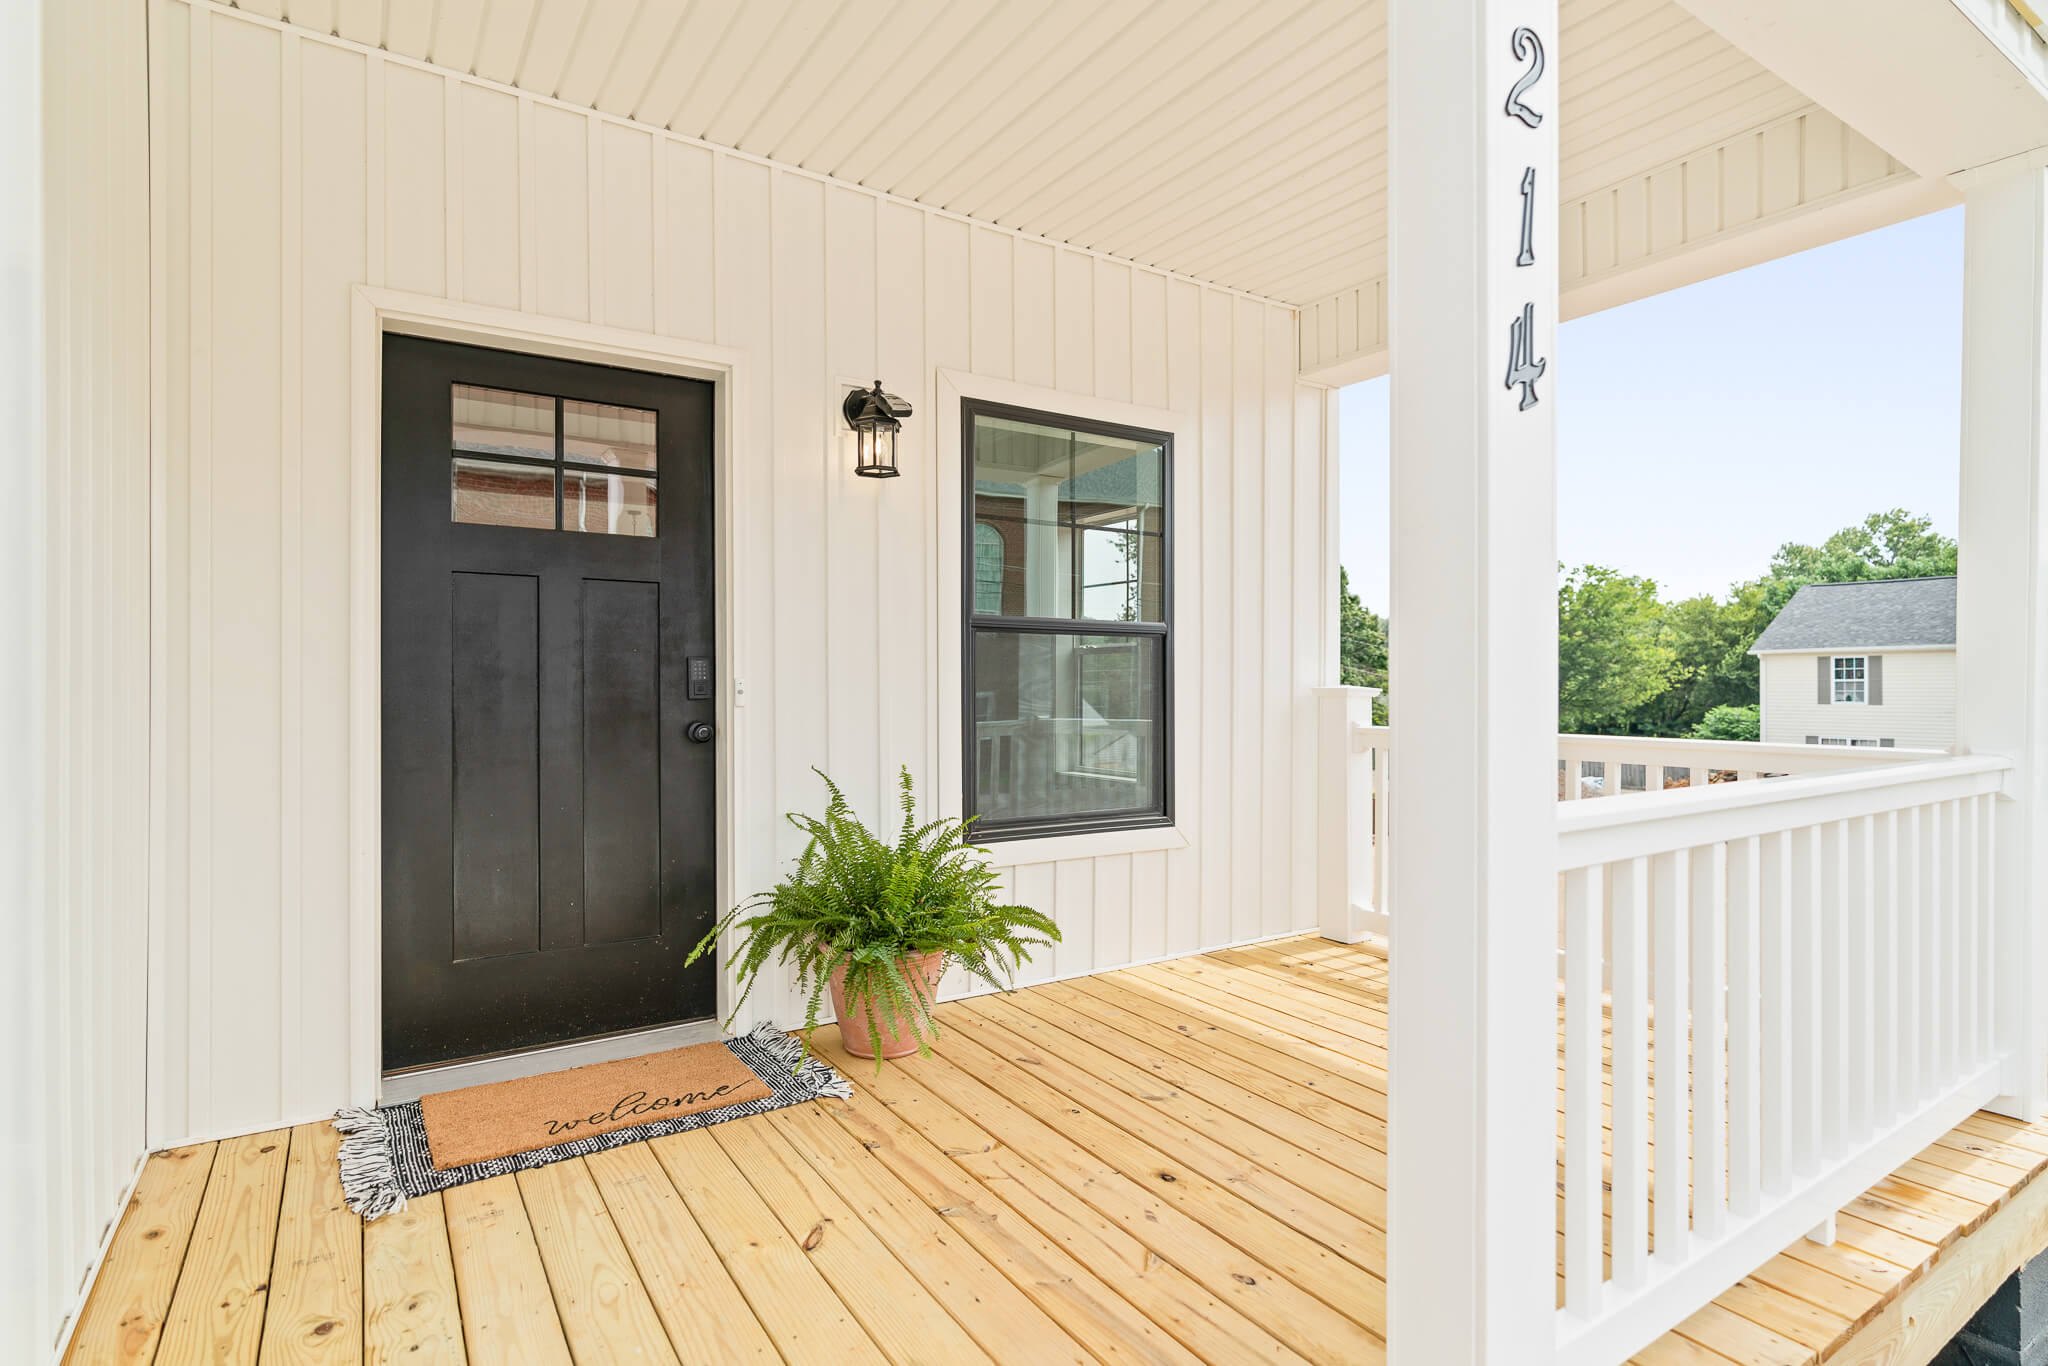
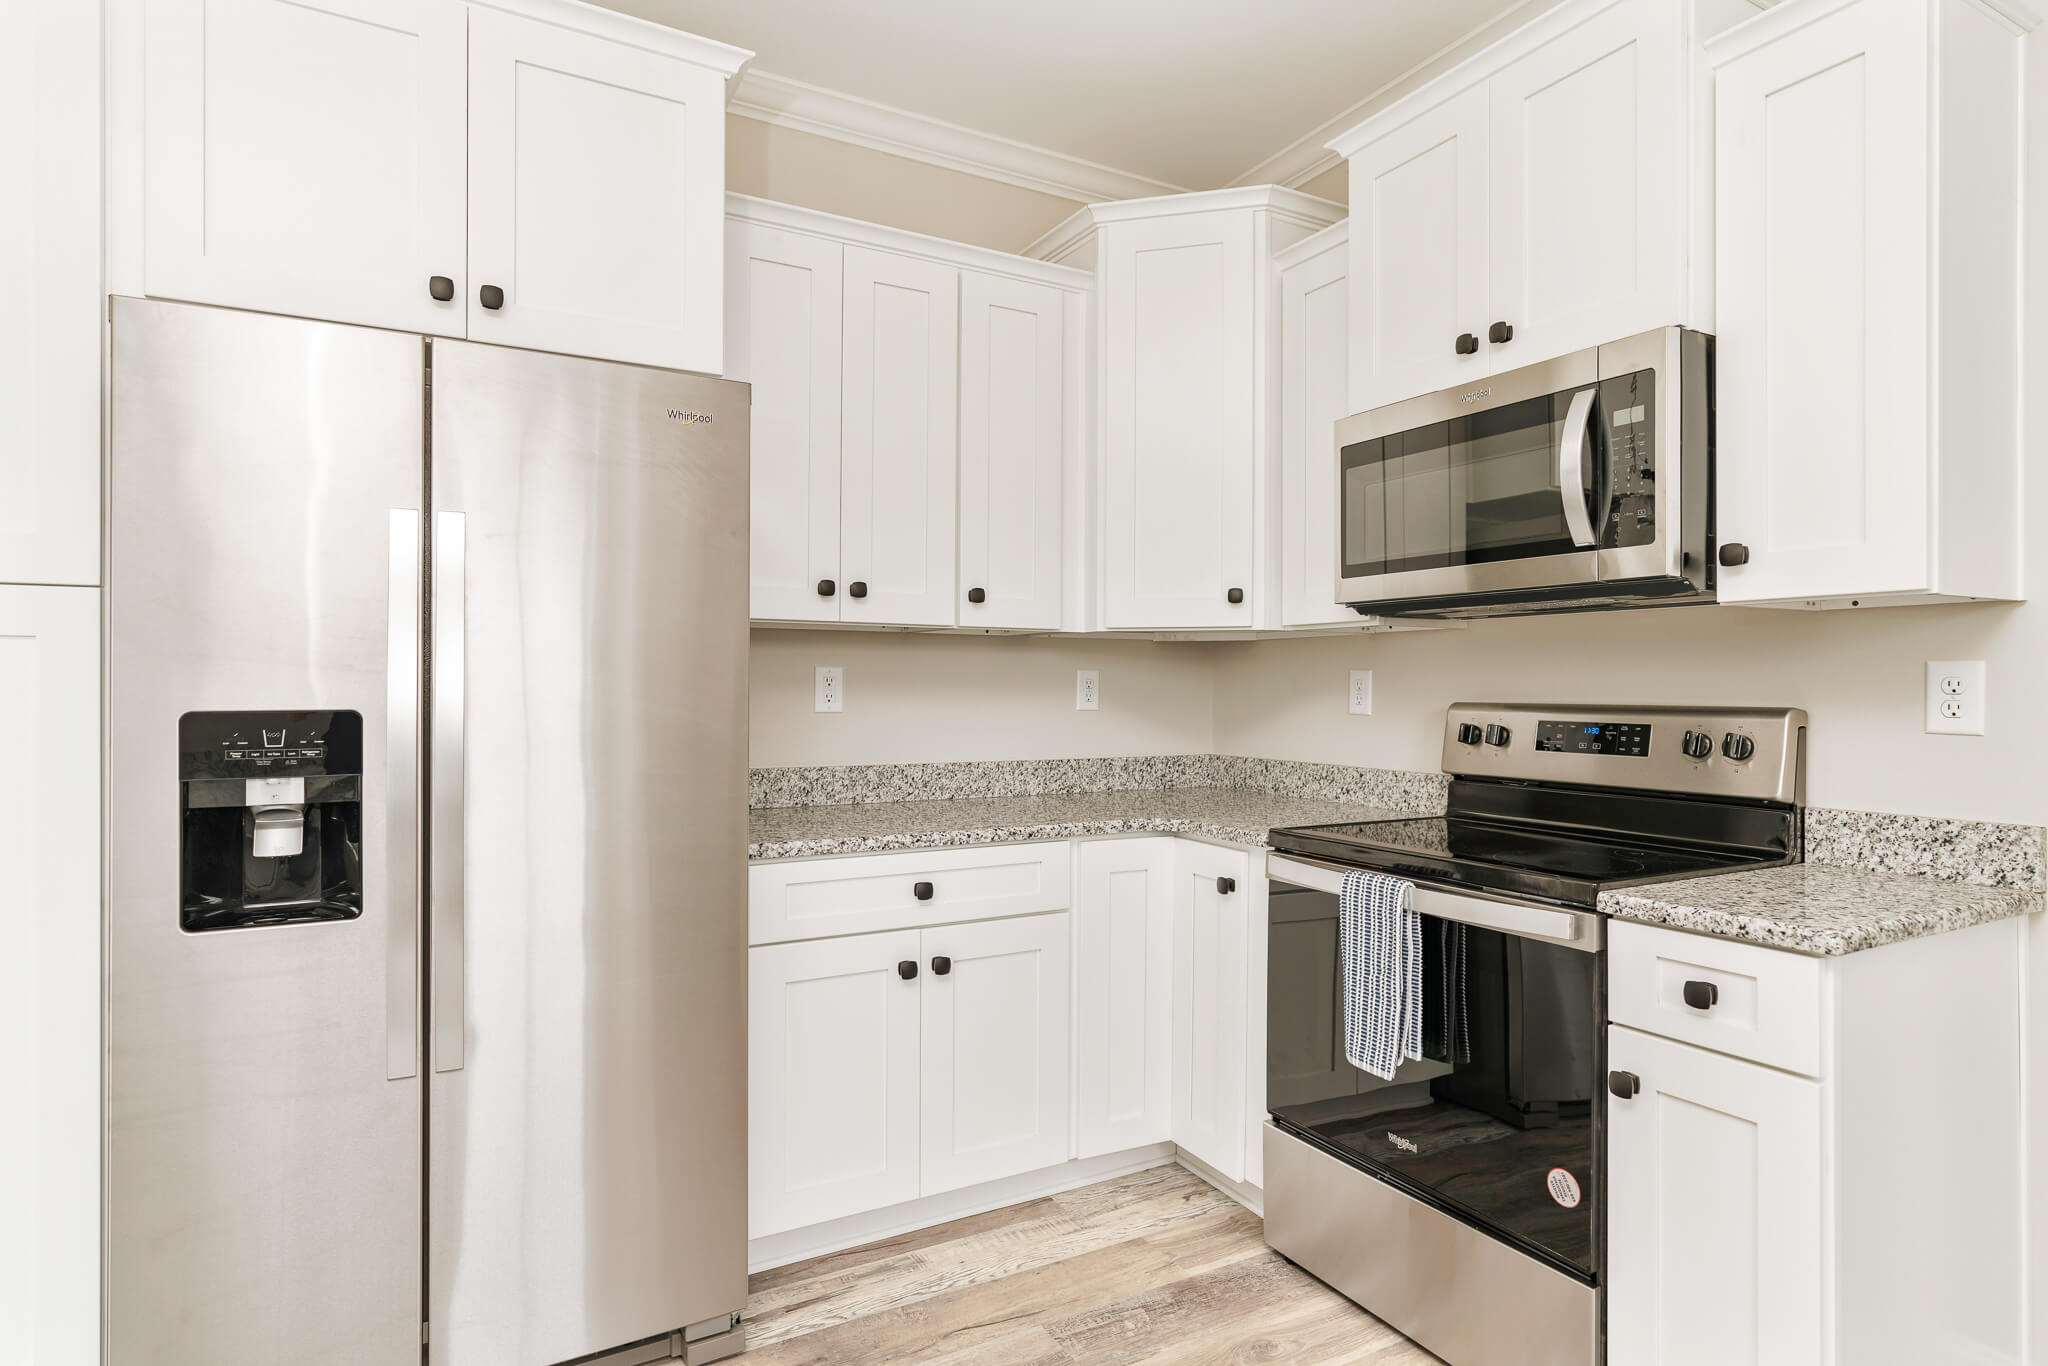
A wide variety of modular home plans are available to choose from. We offer capes, ranches, split level, duplex and quad plex units and two-story modular homes. Many options are also available that will help customize your home to your own personal tastes. Whether you are looking for a home from 1,000 square feet to 4,000 square feet, we can meet your needs.
For those who desire to enlarge their home, an array of modular home additions has been designed to fit your existing home. Our remodeling additions range from bedrooms, family rooms, kitchens, garages, sun rooms and office additions.
-COST ADVANTAGES of Modular Homes
Because modular homes are constructed faster, costs are controlled and kept at a minimum which enables us to pass along a savings to you. With our many floor plans and options to choose from, you will be able to find something that fits your budget.
Our modular homes qualify for all mortgage programs. The same mortgage rules and regulations apply to purchasing a Nationwide modular home as to a site-built home. Assistance is also available in helping you to determine the financial program that best fits your needs.
The modular Home Building Process Explained:
MODULAR BUILDING STEP 1: FLOOR SYSTEM
Floor systems are the modular home’s foundation. All other parts of the home are dependent upon a well-built floor. Floors are built at the same time as wall and roof systems. Floors are constructed on what is termed jigs; these are the width and length template on which the floors are assembled. The jig ensures that the wood members conform to the standard floor widths, allowing floor widths to be exact and within pre-established measurement tolerances.
Floor systems are double-banded at the perimeter for extra strength and are constructed with 2” x 10” wood members. 2” x 10” floor joists are spaced and fastened at 16” on center. Floor decking is comprised of sturdy 3/4” tongue and groove OSB (Oriented Strand Board) glued and screwed to the floor joists.
MODULAR BUILDING STEP 2: WALL SYSTEM
Walls are like the skeleton of a home. They support the home’s roof system and dictate its floor plan. Again, wall fabrication occurs simultaneously as the floors are built. We use 2” x 6” studs for exterior walls and 2” x 4” studs for interior walls, with all stud members laid out in increments of 16” on center standard before being nailed in place. Drywall is adhered to the studs by a special foam seal adhesive, allowing for a smooth flawless drywall finish with fewer nail pops.
Exterior walls are then lifted by crane over to the floor section where they are carefully set into place. It is important to note that walls are fastened directly to the floor system, perpendicularly, as prescribed by a nailing schedule to ensure a very sturdy, tightly built structure. Interior walls are then lifted to the floor system and secured in the same manner.
STAGE 3: ROOF/CEILING SYSTEMS
Engineered with a fold-up, self-supporting rafter system, the modular roof system is one of the more complicated stages of the modular home construction process.
For easy installation, roofs are built adjacent to the floor and wall stations at sub-assembly stations; these stations are where various home components are built and then delivered to and installed in or on the house, saving time because they reduce the amount of construction done on the line.
Roofs and ceiling originate with the laying out of the drywall and the construction of framing. Sub-assembly stations are where various home components are built, delivered, and then installed in or on the house. Sub-assembly areas save time by alleviating these stages of construction from being done on the line. If prescribed by the engineered drawings, a Microlamb® beam may be installed in large-span areas to accommodate heavy weight loads. Next, front and rear overhangs are installed, and finally, the roof and ceiling structure is lifted and carried via crane, set, fastened, and strapped to the perimeter top plate of the unit as well as lag-bolted into its interior walls.
STAGE 4: PLUMBING AND WATER SYSTEMS
Whether you plan on using public water and sewage or a private well and septic tank, your home will need to be equipped with the right plumbing. Per the plan you select, your home will have water supply lines, waste lines and venting stacks. All lines are tied in and pressure tested to the required 95 and 100 psi for water lines and 35 psi for waste lines to ensure against any leakage.
While in the production facility, water supply lines and waste lines are installed in the kitchen and bathroom areas. Plumbing is stubbed through on the first floor and may be routed up chase walls if the home has a second story. Second story water and waste lines must then be connected on-site by your builder once the home is delivered and set. The water source for your home will determine what type of plumbing connections are needed, and your builder is responsible for connecting your well or public water to your home.
STAGE 5: ROUGH ELECTRICAL
Modular homes are fully pre-wired in the production facility as prescribed by the NEC (National Electrical Code) and the home’s electrical plan. 110- or 220-volt wiring is used and “pulled” through the roof system, then through drilled holes in the wall cavities into areas of the home where electrical service is needed. Electrical wire is run to junction boxes where switches, smoke detectors, lights and outlets are located and electrical components are installed and connected. Nail plates are then installed to protect wiring from nail punctures.
As pre-established on your home’s plan, the electrical panel with circuit breakers is attached in one of the designated modules for later installation. After the home arrives at the jobsite, an electrician will connect wiring from all modular units.
STAGE 6: DRYWALL FINISHING
In this stage of production, interior walls are finished. As mentioned earlier, exterior wall drywall is glued and affixed to the studs while interior wall drywall is installed and fastened. After the drywall is installed, tape and joint compound is applied to the joints or seams. In bathroom areas, special sheetrock and cement board is installed behind the showers and tubs in ceramic areas to guard against moisture. Corner bead, a 45-degree angled thin piece of metal or curved bead, is affixed to all drywall corners to provide crisp and clean wall corners. Finally, if the floor plan dictates, a fireplace will be installed in a prescribed chase area.
STAGE 7: INSULATION & SHEATHING
Modular homes are intrinsically energy efficient and this stage of production demonstrates that. Air infiltration is the enemy of homebuilding, so creating a tight envelope by adequately insulating the home to ensure comfort is very important. In this stage, wall insulation and blown cellulose ceiling insulation are installed.
All open areas in the wall cavities are insulated, including any open headers. The entire exterior of the home, including the marriage walls where the modular units will be joined together, is sheathed, glued, and fastened with OSB, and caulk is applied under the walls. This sheathing and caulking provides for an extra level of protection which ensures an energy efficient and strong home.
STAGE 8: EXTERIOR DOORS & WINDOWS
Installing the exterior house wrap and exterior doors and windows takes some preparation, and doing it correctly guards against air and water infiltration. First a Tyvek® polypropylene air infiltration barrier or house wrap is installed around the entire exterior of the unit. Then, flashing is installed around the perimeter of all exterior doors and windows, protecting the home against any water intrusion. Windows are leveled, glued and fastened into place. Doors openings are prepared, and the door sill, threshold and flashing are installed. Caulk is applied around the openings, and the door units are installed, set and adjusted.
STAGE 9: SIDING
Falcon Development has a variety of exterior treatment options for our customers. Vinyl siding is a standard feature in our homes, and is the exterior treatment of choice. Measurements are taken, and a plumb line is drawn to ensure that all successive courses of siding are level. Each course snaps into place and is affixed with a nailing flange. End channels and corner posts are installed for the termination of the siding. Low maintenance ventilated vinyl soffit and aluminum fascia is installed on overhangs, and finally, decorative shutters are mounted if called for by the home’s plan.
Please note that you may choose other exterior treatments to be installed on-site, such as a brick, masonry or stone treatments.
STAGE 10: FINISHED ROOF
At this stage, the roof is finally completed. 7/16” OSB sheathing is nailed into place. Next, drip edging is attached, ice and water shield is installed around all eaves, synthetic felt paper is installed over the entire roof, and shingles are installed.
STAGE 11: FINAL FINISH TRIM, DOORS, PAINT
If you walk into a unit during this stage of production, you will witness a flurry of activity. It might look random to the unschooled observer, but it is actually a controlled and organized process.
Many people work on many tasks simultaneously to get the modular units ready for the final stages. Openings around windows and interior doors are given extra insulation, numerous varieties of base trims, window trims, and casings are installed, and walls are sanded.
STAGE 12: FINAL FINISH CABINETS
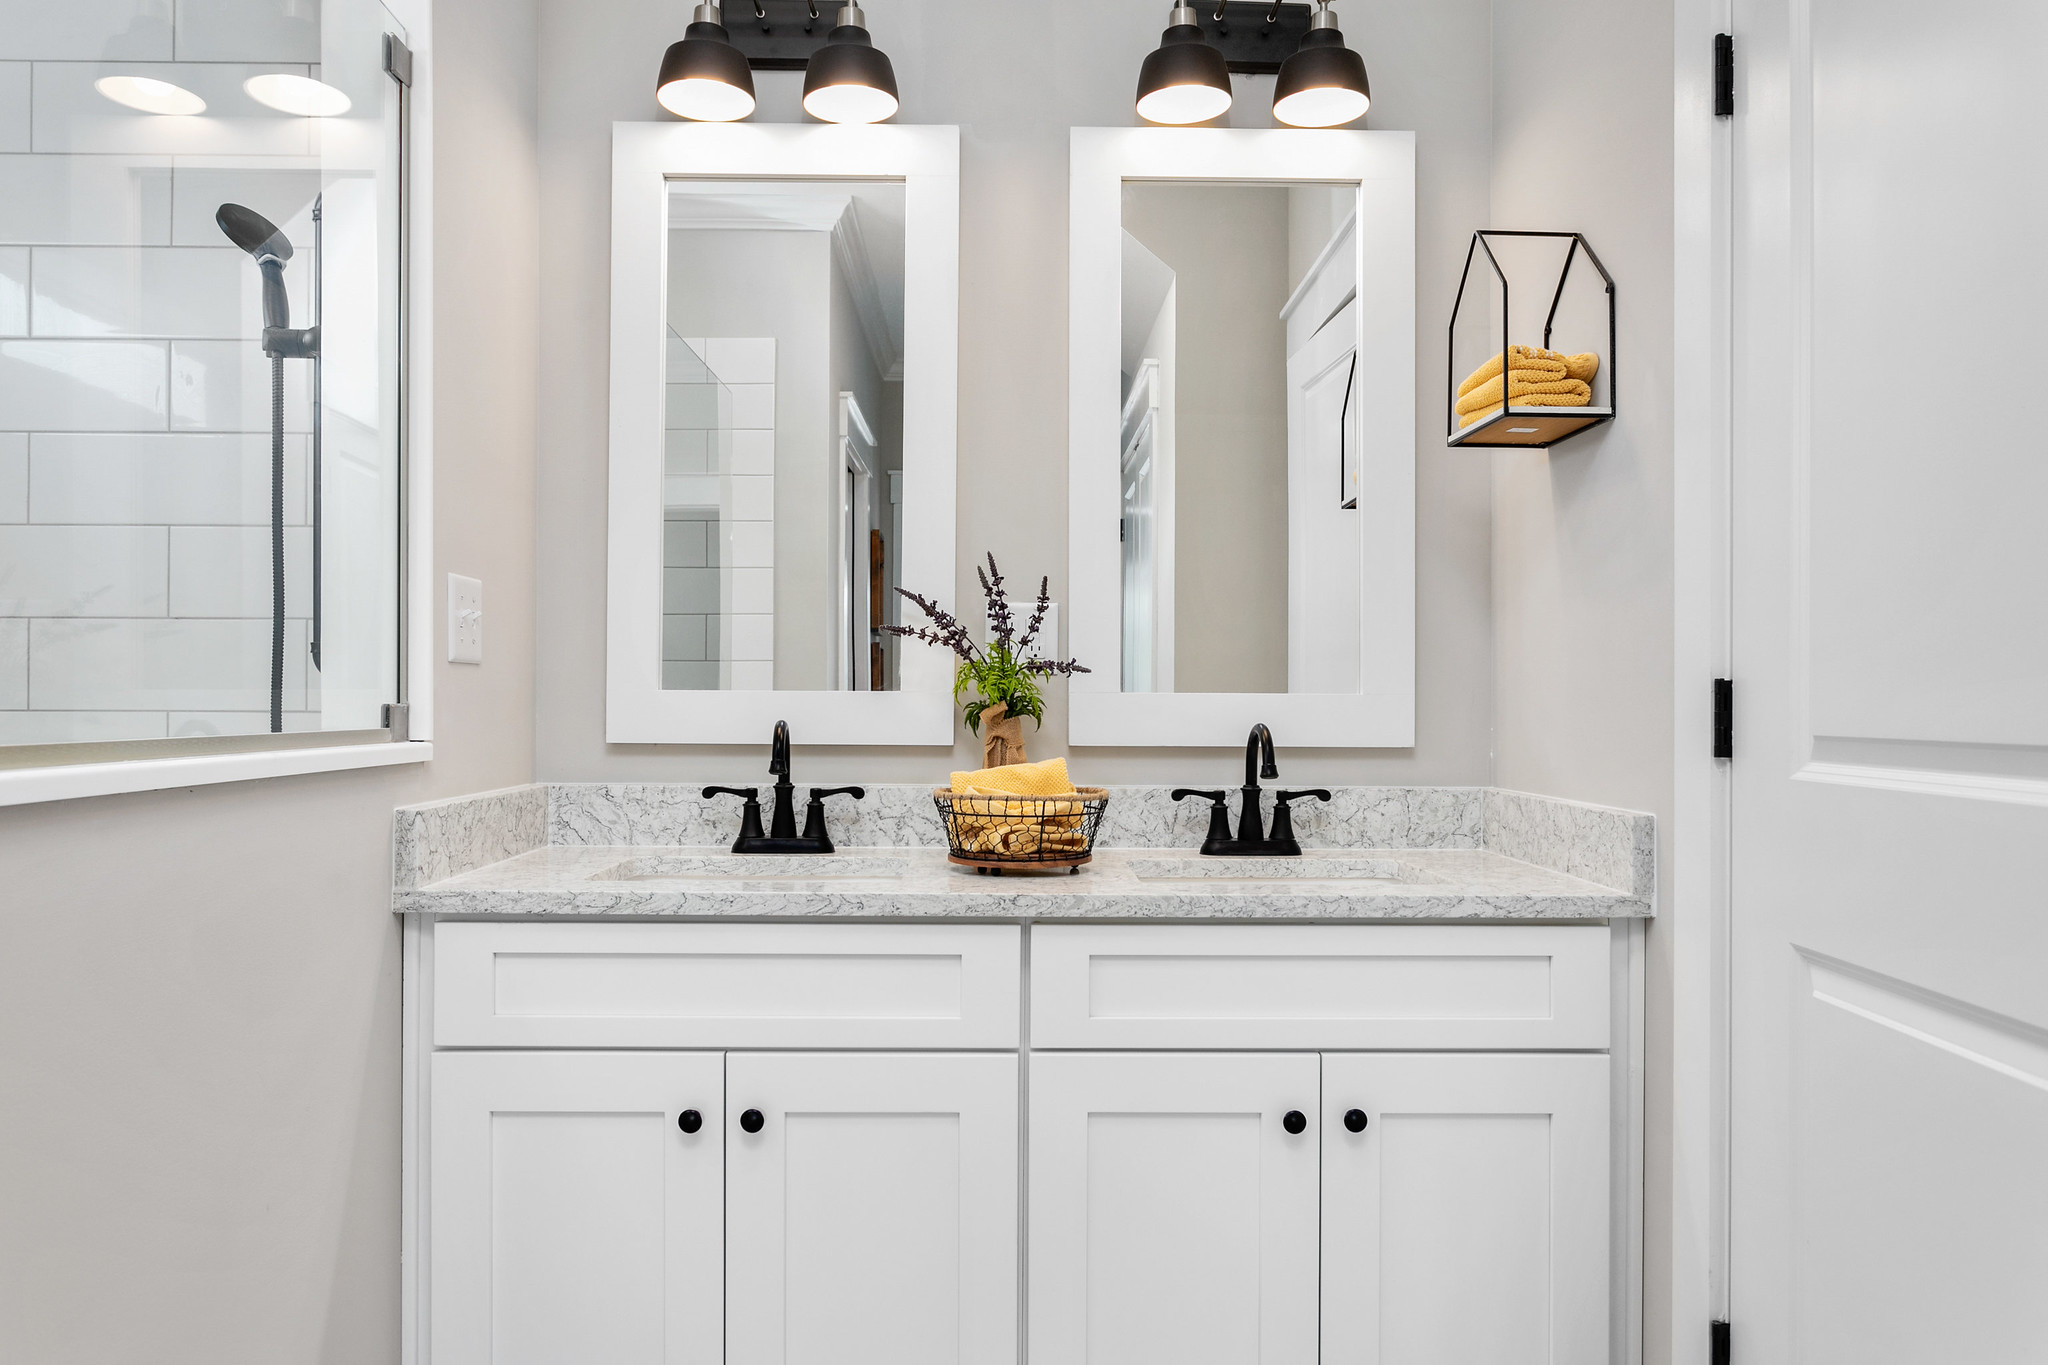
During this stage, workers install pre-assembled cabinets in the kitchen and bathroom areas by screwing them into studs and blocking them behind walls. Countertops are expertly installed. We offer a variety of cabinets and countertops.
STAGE 13: FINAL FINISH ELECTRIC
The final four stages of completion are comprised of the everyday things you see and use in your home every day. Electrical outlets, switches, and covers are installed; phone jacks and coaxial cables are connected to outlets. All overhead lighting fixtures are installed and connected to the various junction boxes while the range hood is connected and any other appliances ordered with the home are installed.
STAGE 14: FINAL FINISH PLUMBING
Now, the home is almost complete and the individual modules are looking more like the interior of a home. All the final kitchen and bath plumbing details come together; sinks are installed, and faucets are connected to supply and drain lines.
STAGE 15: FINAL FINISH TOUCH-UP AND CLEANING
This is the final stage of actual production. Each unit is given a full- scale cleaning, from top to bottom. Every inch is dusted, windows are washed, and floors are swept. The final details are completed, including the installation of shelving in the utility room, closets and pantry.
STAGE 16: WRAP AND LOAD
With production complete, attention is turned to protecting the modular units in transportation to the jobsite, where final assembly will take place. The units are readied with a weather resistant membrane stretched around the entire unit structure to protect against elements during travel. Castors that supported units through the production process are removed. The units are then carefully lifted, placed, and secured on a specially designed transporter for shipment to the jobsite.